welcome to your virtual yoga space
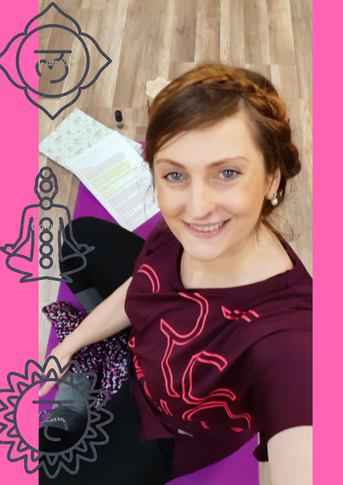
I was inspired by my yoga students to make this special page on my website to help them to practice yoga between classes,but if you landed on this page i am more then happy to share this Yin Yoga inspired Home practice with all of you.You don't need to be flexible,or practice yoga for a long time,this can be your first step on your yoga journey or it can be a daily reminder to back on your mat.
I invite you to practice the sequence below every day for 15 min then rest in sivasana relaxation pose at least for 5 min in the end of your practice.
I invite you to practice the sequence below every day for 15 min then rest in sivasana relaxation pose at least for 5 min in the end of your practice.
let's get started.
Spread a blanket or a yoga mat out.Put your phone on “do not disturb” mode. Open your phone’s clock and set your timer to 15 minutes.take a deep breath in through out your nose and out trough your mouth find a haaa moment......
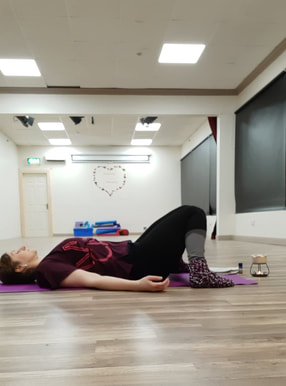
Contsructive resting pose
Start in a safe and comfortable position in Constructive Rest,this pose helps to relieve back, pelvic and leg fatigue and tension.
SHAPE POSE
Lie down on back.
Bend knees and bring soles of feet to floor.
Separate feet slightly wider than hips, knock knees in to touch.
Rest hands on low belly.
Close eyes.
REFINEMENT POSE
Slow down and smooth out your breath,rest in the pose for 5 min.
In this simple position gravity releases the psoas and you’ll feel more at peace with your self and the world :)
|
|
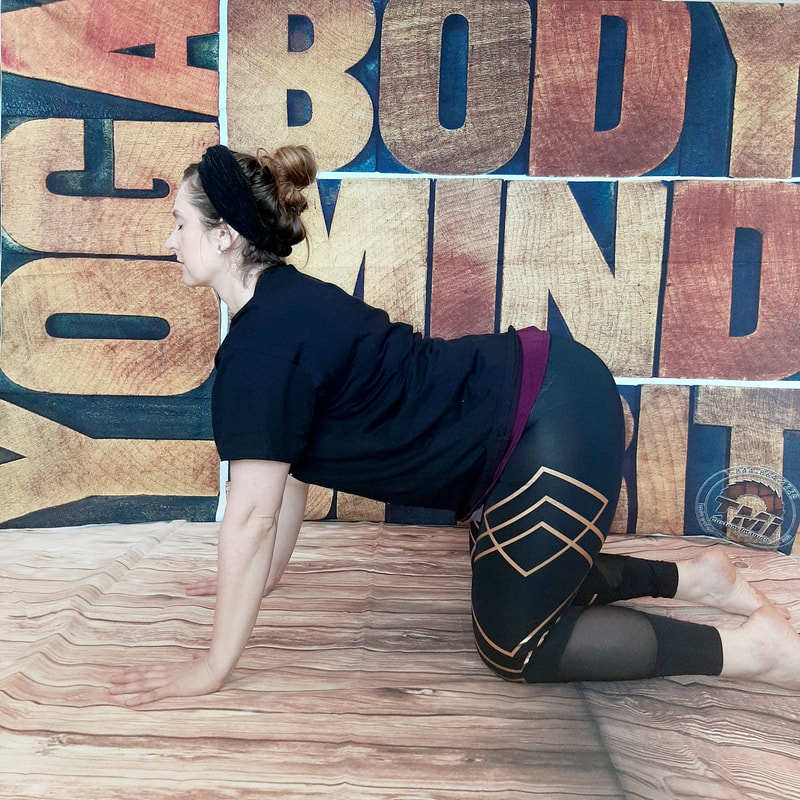
Cat-Cow Stretch (Chakravakasana)
Roll on to your right side and come up to starting position on All Fours.
Continue for 5 to 10 breaths, moving the whole spine. After your final exhale, come back to a neutral spine.
- Start on your hands and knees, aligning your wrists underneath your shoulders and your knees underneath your hips.
- Think of the spine as a straight line connecting the shoulders to the hips. Try visualizing the line extending forward through the crown of the head and back through the tailbone. This is the position of a neutral spine.
- Keep the neck long by looking down and out.
- Curl your toes under.
- Tilt your pelvis back so that your tailbone sticks up.
- Let this movement ripple from your tailbone up your spine so that your neck is the last thing to move.
- Your belly drops down, but keep your abdominal muscles hugging your spine by drawing your navel in.
- Take your gaze gently up toward the ceiling without cranking your neck.
- Release the tops of your feet to the floor.
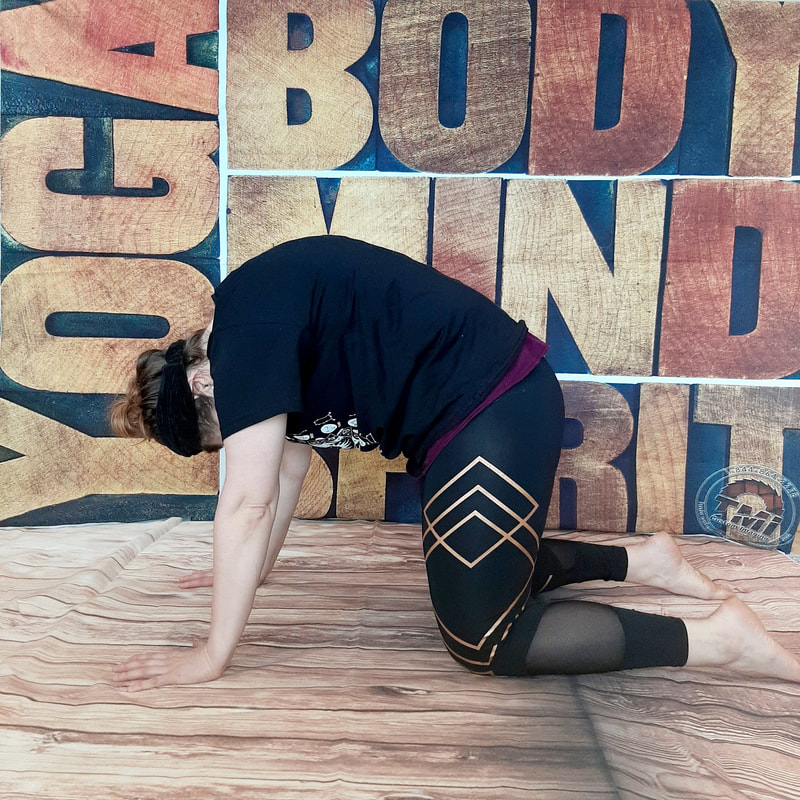
- Tip your pelvis forward, tucking your tailbone. Again, let this action move up your spine. Your spine will naturally round.
- Draw your navel toward your spine.
- Drop your head.
- Take your gaze to your navel.
Continue for 5 to 10 breaths, moving the whole spine. After your final exhale, come back to a neutral spine.
|
|
yin Relief for Shoulders & Neck
Come into a seated easy crossed leg position.Sitting up tall, begin to take the left hand to the low back behind you or wrap around your waistline,then place the right hand on the floor next to your hip. Take an inhale to lengthen the neck, then on your exhale drop the right ear to the right shoulder. Hold 1 minute and then switch the arms and drop the opposite ear down for another 1 minute.
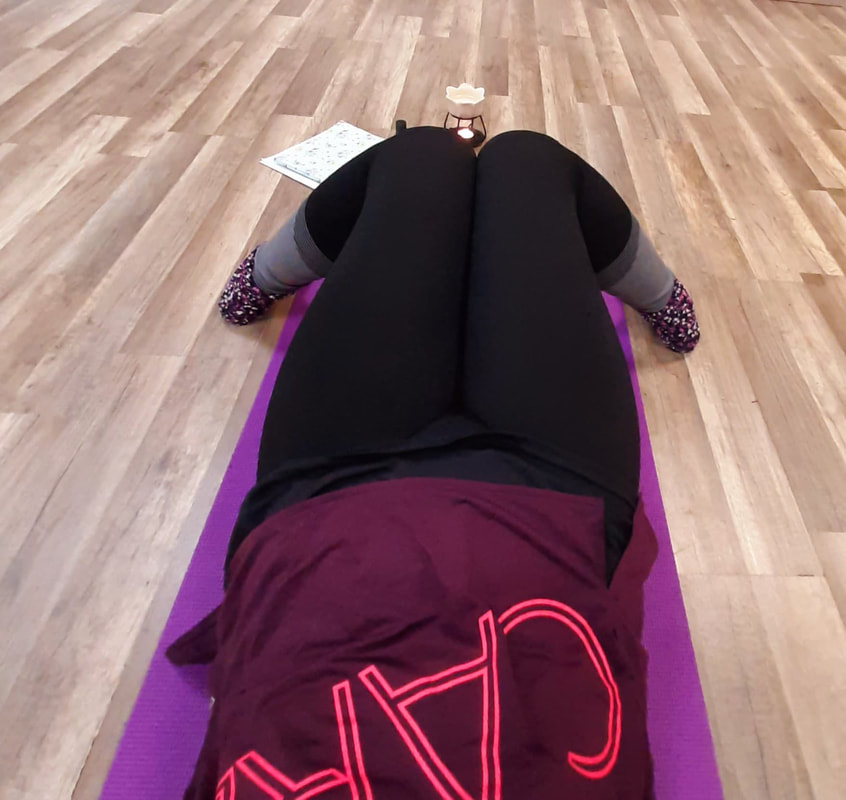
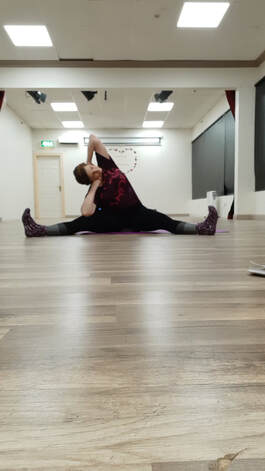
Lateral Dragonfly Pose
|

|
Yin Yoga is a meditative practice, so conscious breathing is always the key to a most beneficial Lateral Dragonfly Pose.
Getting Into the Pose:
From a sitting position, spread your legs apart until they won’t go any further. Now shift your weight through your hips, forward slightly, onto the bottom of your sitting bones.Sitting on a cushion will help tilt your hips.
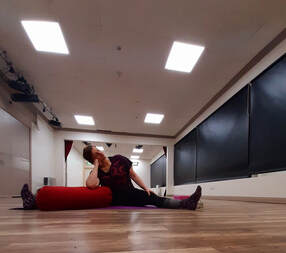
Let the right arm rest on the ground or elbow up on a prop,(Picture Nr.2 Nr.3) supporting the head, as shown, with the left arm draping overhead and behind the neck or behind the head to invite sensation along the left side of the trunk. Repeat on the left side.Hold for 2 minutes on each side.
Coming Out of the Pose:
Use your hands to push the floor away and slowly roll up. Remember, slowly means “not fast.” This is a test!
Rest for few minutes in a Contsructive resting pose (first pose on the top of the page).
Contra-indications:
Getting Into the Pose:
From a sitting position, spread your legs apart until they won’t go any further. Now shift your weight through your hips, forward slightly, onto the bottom of your sitting bones.Sitting on a cushion will help tilt your hips.
Let the right arm rest on the ground or elbow up on a prop,(Picture Nr.2 Nr.3) supporting the head, as shown, with the left arm draping overhead and behind the neck or behind the head to invite sensation along the left side of the trunk. Repeat on the left side.Hold for 2 minutes on each side.
Coming Out of the Pose:
Use your hands to push the floor away and slowly roll up. Remember, slowly means “not fast.” This is a test!
Rest for few minutes in a Contsructive resting pose (first pose on the top of the page).
Contra-indications:
- Can aggravate sciatica. If you have this condition, elevate the hips. Beware of hips rotating backward while seated; we want them to rotate forward.
- If you have any lower back disorders which do not allow flexion of the spine, then do not allow the spine to round: keep the back as straight as you can.
- If you have any inner knee trauma or issues, bring the legs closer together or tighten the top of the legs (the quadriceps) to engage the kneecaps.
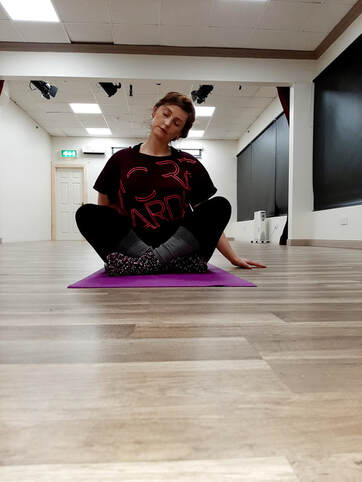
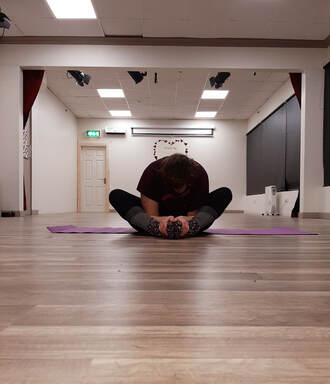
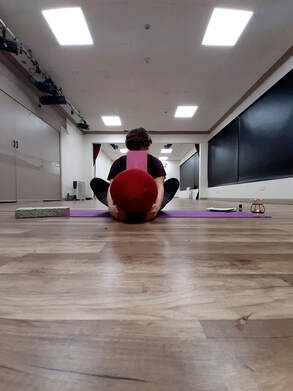
Yin Pose: Butterfly
|
|
Then find your way into Butterfly pose, sitting up, with the soles of the feet together and a diamond shape between the legs.Bend forward and relax you neck,back of your scull and your head.Let the head relax towards the heals.Gently rest with your hands on your feet, or on the floor. Stay in this pose for about 3 to 5 minutes. To come out of the pose you push your hands into the ground and very slowly roll up. Feel how your hip joints carry more energy and mobility!You can sit on a cushion, which will make the forward bend more comfortable for your lower back as the sacrum can move forward. It is important to avoid any sharp, or electrical pain in the body during YIN practice.
final resting pose
savasana (corpse pose)
Lie down on your back. Separate your legs. Let go of holding your legs straight so that your feet can fall open to either side. Bring your arms alongside your body, but slightly separated from your torso. Turn your palms to face upwards but don't try to keep them open. Let the fingers curl in. Tuck your shoulder blades onto your back for support. Once you have set up your limbs, release any effort from holding them in position. Relax your whole body, including your face. Let your body feel heavy.
Let your breathing occur naturally. If your mind wanders, you can bring your attention to your breath but try to just notice it, not deepen it. Stay for a minimum of five minutes. Ten minutes is better. If you are practicing at home, set an alarm so that you are not compelled to keep checking the time. To come out, first begin to the deepen your breath. Then begin to wiggle your fingers and toes, slowly reawakening your body. Stretch your arms overhead for a full body stretch from hands to feet. Bring your knees into your chest and roll over to one side, keeping your eyes closed. Use your bottom arm as a pillow while you rest in a fetal position for a few breaths. Using your hands for support, bring yourself back up into a sitting position.
I hope you enjoyed this short home practice.
Namaste
Inga
Namaste
Inga